
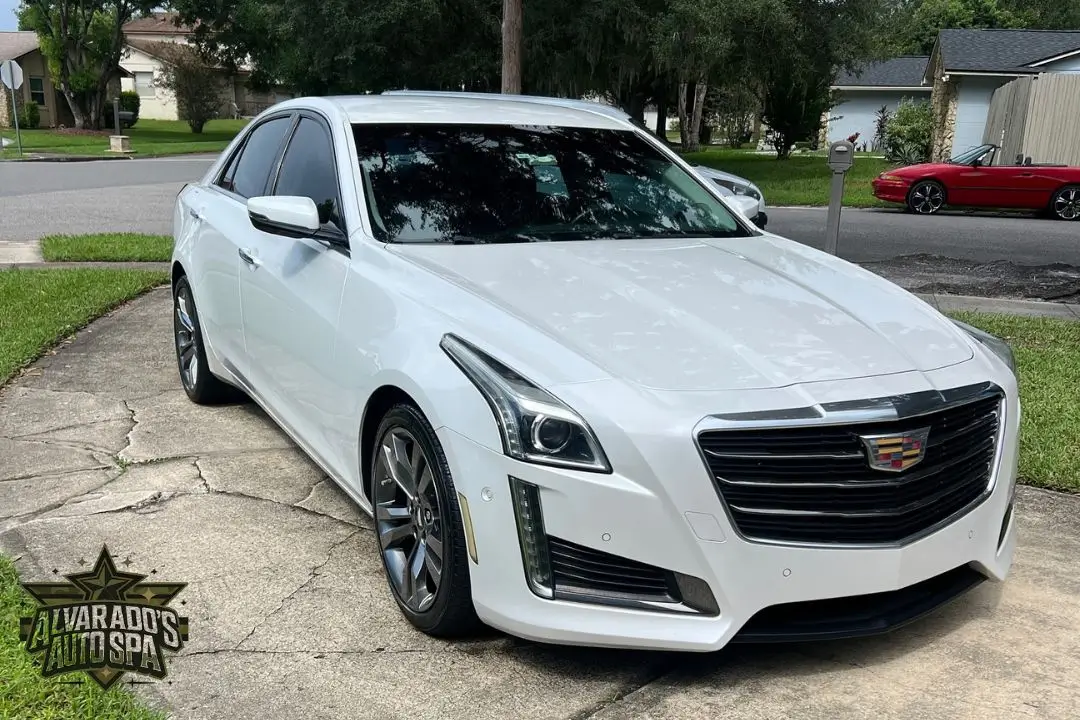
Yes, you can absolutely apply ceramic coating yourself at home for a fraction of the cost a professional detailer charges. A quality DIY ceramic coating kit costs between $30 and $100, and with proper surface preparation, correct application technique, and a controlled environment, you can achieve 90% of the results a professional job delivers—lasting anywhere from 1 to 5 years depending on the product you choose.
What Is DIY Ceramic Coating and How Does It Work?
DIY ceramic coating is a liquid polymer—typically silicon dioxide (SiO2) based—that chemically bonds to your vehicle’s clear coat. Once cured, it forms a semi-permanent hydrophobic layer that repels water, UV rays, dirt, and chemical contaminants far better than any carnauba wax or sealant.
The key difference between consumer-grade and professional-grade coatings is the concentration of SiO2. Consumer products usually contain 5% to 10% solids, while professional coatings can exceed 80%. That said, a well-applied consumer coating still dramatically outperforms wax or spray sealants.
How Ceramic Coating Bonds to Paint
Ceramic coatings work through a process called cross-linking. When the liquid solution contacts a properly prepared paint surface, the SiO2 molecules bond at a molecular level with the clear coat. This creates a sacrificial layer that sits on top of your paint, absorbing environmental damage instead of your factory finish.
What DIY Ceramic Coating Can and Cannot Do
- Can do: Repel water and dirt, resist UV fading, protect against bird droppings and tree sap (temporarily), add deep gloss and shine, make washing significantly easier.
- Cannot do: Prevent rock chips or scratches, fix existing paint damage, eliminate the need for regular washing, replace paint protection film (PPF) for impact resistance.
What Do You Need to Apply Ceramic Coating at Home?
You need a ceramic coating kit, proper surface prep chemicals, microfiber applicator pads, microfiber towels, and ideally a garage or shaded area with temperatures between 50°F and 80°F. Rushing the prep stage is the single most common reason DIY coatings fail prematurely.
Essential Supplies Checklist
- Ceramic coating kit – Look for brands like CarPro CQuartz, Gtechniq Crystal Serum Light, Adam’s Graphene Ceramic Coating, or Turtle Wax Hybrid Solutions Ceramic Spray.
- Car wash soap – A strip wash or wax-free car soap to remove existing protection layers.
- Clay bar or clay mitt – To remove embedded contaminants that washing alone cannot remove.
- Isopropyl alcohol (IPA) spray – Mix 15% to 20% IPA with distilled water. This wipes away polish oils and ensures a perfectly bare surface.
- Polish or compound – Only if your paint has swirls or scratches that need correction first.
- Microfiber applicator pads – Suede or foam applicator pads designed for coating application.
- Short-pile microfiber towels – For leveling (buffing off) the coating. Have at least 4 to 6 on hand.
- Inspection light – A handheld LED or Brinkmann-style light to spot high spots and missed areas.
Optional but Helpful Tools
- Dual-action polisher for paint correction
- IR curing lamp for accelerating the curing process
- Infrared thermometer to monitor surface temperature
- Nitrile gloves to keep oils off your hands and the applicator
How Do You Prepare Your Car’s Paint Before Ceramic Coating?
Surface preparation accounts for 70% of your ceramic coating’s success. Wash, decontaminate, clay bar, polish if needed, and do a final IPA wipe. Skipping any of these steps guarantees poor bonding and premature failure.
Step-by-Step Paint Preparation Process
Step 1: Wash the Vehicle Thoroughly
Use the two-bucket method with a grit guard in each bucket. Start from the top and work downward.
Pay special attention to door jambs, fuel filler area, and the lower rocker panels where road grime accumulates. Rinse the vehicle completely before applying soap to avoid dragging debris across the paint.
Step 2: Chemical Decontamination
Spray an iron remover like CarPro IronX or Koch Chemie Reactive Wheel Cleaner on the entire vehicle. You will see it turn purple as it dissolves embedded iron particles from brake dust and industrial fallout. Let it dwell for 2 to 3 minutes, then rinse thoroughly.
Step 3: Clay Bar Treatment
Lubricate a section at a time with clay lubricant and glide the clay bar or clay mitt across the surface in straight lines. You will feel the surface go from gritty to glass-smooth. This removes embedded contamination that sits below the surface level.
Step 4: Paint Correction (If Needed)
If your paint has swirl marks, light scratches, or oxidation, polish those out before coating. Whatever imperfections are underneath the coating get permanently locked in. Use a dual-action polisher with a medium-cut compound, followed by a finishing polish.
Step 5: IPA Wipe Down
Spray a 15% to 20% IPA solution onto one panel at a time and wipe with a clean microfiber towel. This strips away all polish oils, waxes, and residue, leaving perfectly bare paint ready to bond with the coating.
How Do You Apply Ceramic Coating the Right Way?
Apply ceramic coating one small panel at a time in a crosshatch pattern, wait for the coating to flash (appear rainbow or streaky), then level it off with a microfiber towel. Work in 2×2-foot sections and never let the coating dry fully before buffing.
Correct Application Technique
- Wrap the microfiber applicator pad around the provided applicator block (or a small sponge).
- Apply 5 to 8 drops of coating liquid onto the pad. Do not oversaturate it.
- Work the coating onto the surface using a crosshatch pattern—horizontal strokes, then vertical strokes overlapping by 50%.
- Watch for a rainbow or oily sheen. This is called “flashing” and signals it is time to level the coating.
- Using a short-pile microfiber towel folded into quarters, gently wipe the area in straight lines with almost no pressure. Flip the towel frequently.
- Follow immediately with a second clean, dry towel to remove any remaining high spots.
- Use your inspection light to check for missed streaks or uneven application.
Common Application Mistakes to Avoid
- Applying in direct sunlight – Heat causes the coating to flash too fast, leading to high spots and streaking that are extremely difficult to remove.
- Using too much product – More is not better. Thin, even layers bond better and cure more uniformly.
- Waiting too long to level – Once the coating cures past its workable window (usually 1 to 3 minutes depending on temperature), it becomes nearly impossible to buff off cleanly.
- Applying over contaminated paint – Iron particles, wax residue, and polish oils prevent chemical bonding. The coating will fail within weeks, not years.
- Not replacing microfiber towels – Saturated towels smear the coating instead of leveling it. Switch towels every 2 to 3 panels.
How Long Does DIY Ceramic Coating Last?
A well-applied consumer ceramic coating lasts between 1 and 3 years with proper maintenance. Some newer graphene-based products claim up to 5 years. Longevity depends on product quality, surface preparation, application technique, environmental exposure, and how you maintain the coating after application.
Factors That Shorten Coating Life
- Automatic car washes with harsh brushes
- Frequent exposure to road salt and harsh chemicals
- Skipping regular maintenance washes
- Parking under trees daily (bird droppings and sap etch through any coating if left for days)
- Using alkaline or acidic cleaners that degrade the SiO2 layer
How to Maintain Your Ceramic Coated Vehicle
- Wash every 1 to 2 weeks using a pH-neutral car soap
- Use the two-bucket method or a foam cannon to minimize contact abrasion
- Apply a ceramic boost spray every 3 to 4 months to refresh hydrophobic properties
- Never use dish soap—it strips coatings rapidly
- Dry with a clean, plush microfiber drying towel, not a chamois
What Are the Best DIY Ceramic Coating Products in 2024?
The best DIY ceramic coatings in 2024 include CarPro CQuartz UK 3.0 for durability, Gtechniq Crystal Serum Light for professional-level results, Adam’s Graphene Ceramic Coating for ease of use, and Turtle Wax Hybrid Solutions Ceramic Spray for a budget-friendly beginner option.
Product Comparison Table
How Much Does It Cost to DIY Ceramic Coat vs. Professional?
A DIY ceramic coating job costs between $50 and $150 in materials for a mid-size vehicle. A professional ceramic coating service typically costs between $500 and $2,000 depending on the shop, the product used, and the level of paint correction included. You save 70% to 90% by doing it yourself.
Cost Breakdown Comparison
Frequently Asked Questions About DIY Ceramic Coating
Can I apply ceramic coating over old wax or sealant?
No. The ceramic coating will not bond to a surface that still has wax, sealant, or any synthetic protection layer on it.
You must strip all existing protection using a strip wash, clay bar treatment, and an IPA wipe before applying the coating. If you skip this step, the coating will bead and streak unevenly and will wash off within weeks.
How many layers of ceramic coating should I apply?
Most consumer-grade ceramic coatings benefit from 2 layers applied 1 to 2 hours apart. Some products like Gtechniq Crystal Serum Light are designed as single-layer coatings. Always read the manufacturer’s instructions because applying too many layers can cause hazing and delamination where the layers separate from each other instead of from the paint.
What temperature and humidity are best for applying ceramic coating?
The ideal conditions are between 50°F and 80°F with humidity below 60%. High humidity causes the coating to flash too quickly, making it difficult to level.
If it is too cold, the coating will not bond properly. Always work in a garage or shaded area—never in direct sunlight, and never on hot panels that have been sitting in the sun.
Can I ceramic coat my windshield and glass surfaces?
Yes. Many ceramic coating kits include a glass-specific product or can be used on glass surfaces.
Ceramic-coated glass dramatically improves rain repellency and visibility during storms. Use a dedicated glass coating product if available, and avoid getting the coating on windshield wiper contact areas, as it can cause chattering.
Will ceramic coating hide swirl marks and scratches?
No. Ceramic coating locks in whatever is underneath it, including imperfections.
If you apply it over swirl marks, they will become permanently visible under the coating. Always perform paint correction with a polisher before applying the coating if your paint has visible defects.
How do I fix high spots or streaks in my ceramic coating?
If you catch high spots within 24 hours, you can often remove them by applying more ceramic coating to the affected area and immediately leveling it—this reactivates the surface temporarily. For stubborn high spots that have partially cured, you may need to use a fine polish or compound to remove the coating in that area and reapply it.
Final Thoughts on DIY Ceramic Coating
DIY ceramic coating is one of the most rewarding projects a car owner can take on. The preparation is the hard part—once your paint is clean, decontaminated, and corrected, the actual application takes less than two hours for the entire vehicle.
Take your time, work in small sections, and do not rush the surface prep. Done correctly, a DIY ceramic coating will keep your vehicle looking better than wax ever could, for years instead of weeks, and you will have saved yourself hundreds of dollars in the process.
Leave a Reply