
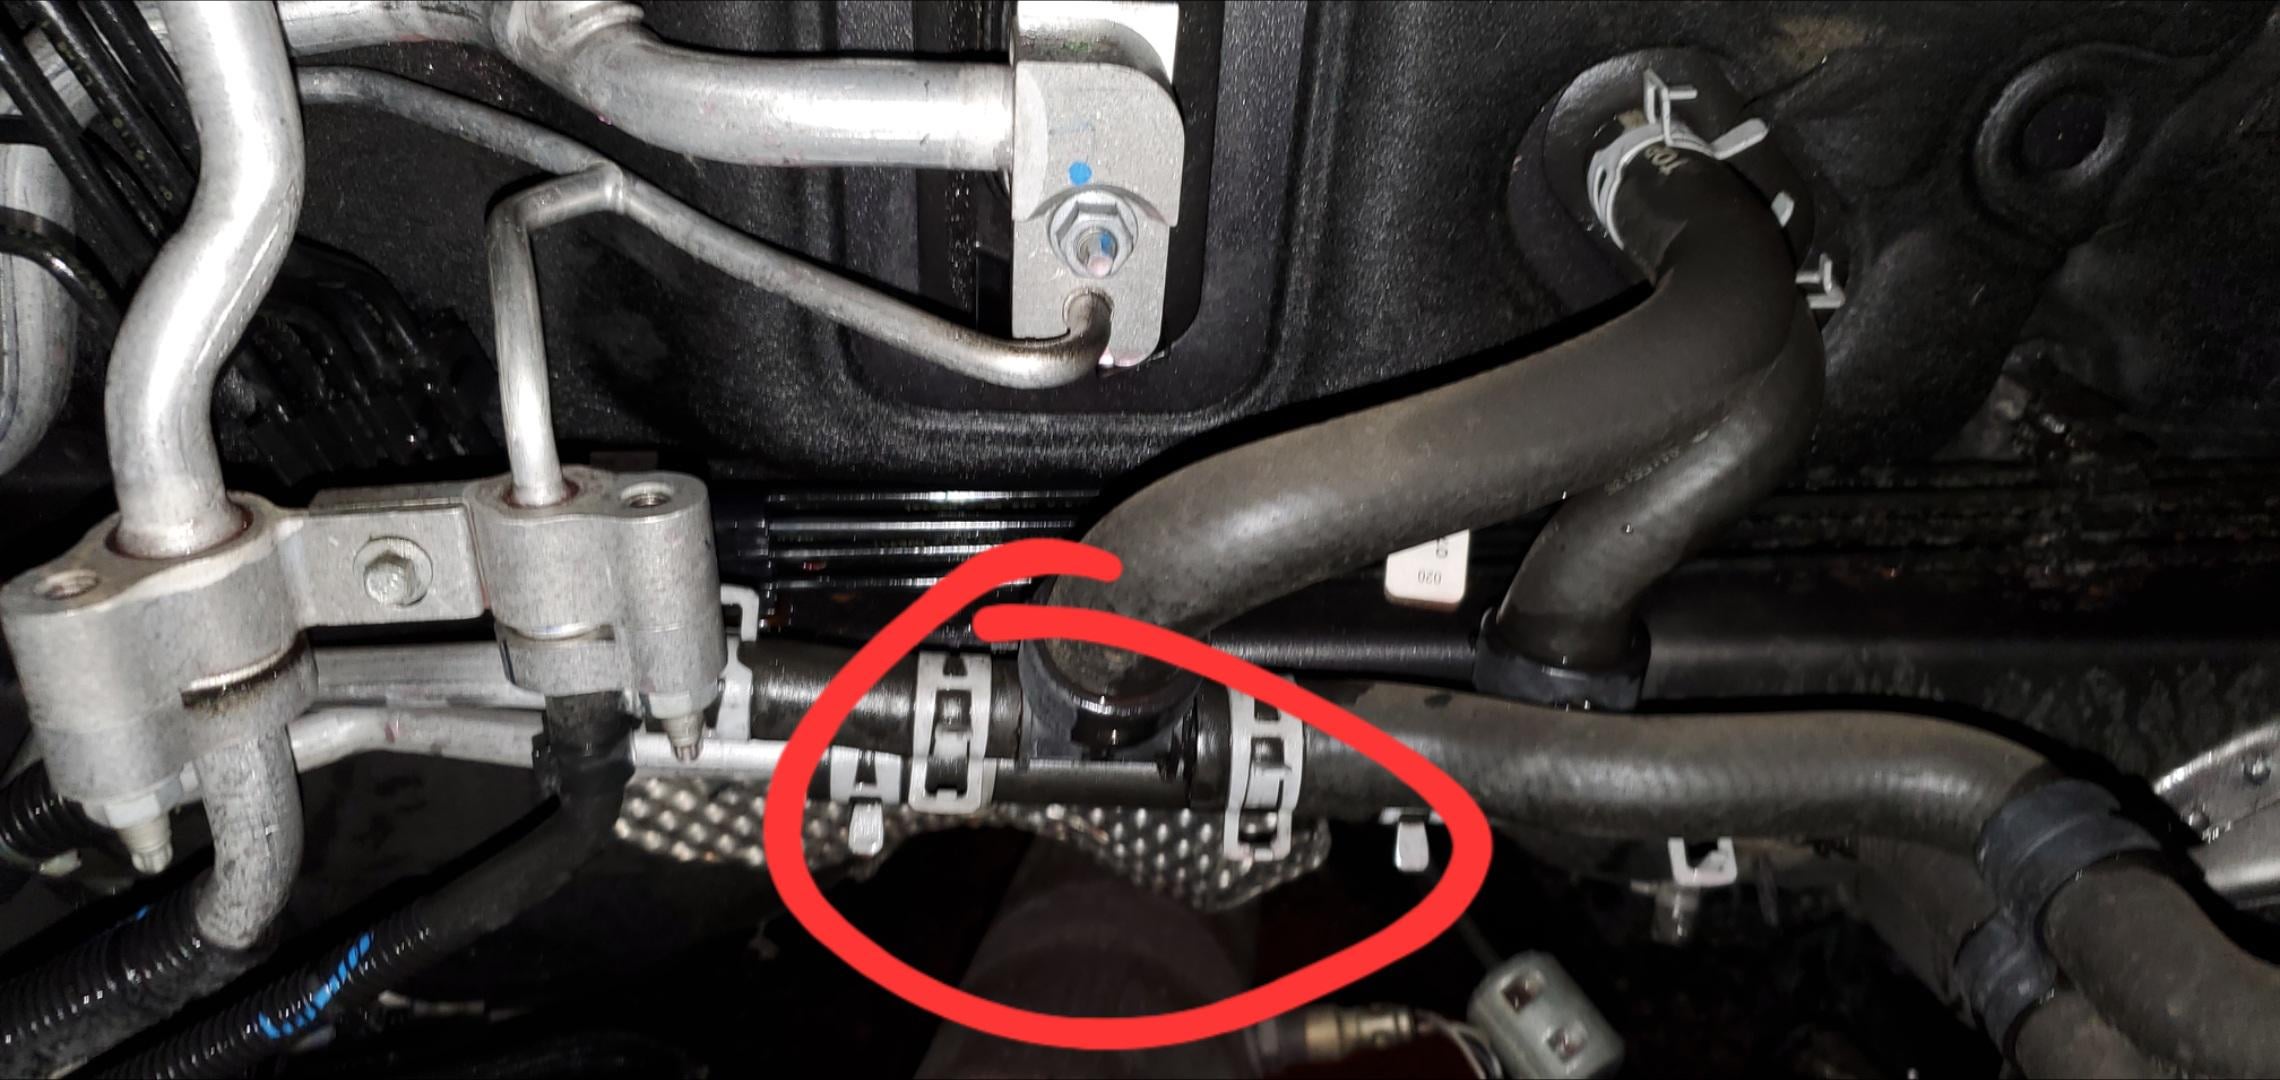
The most common coolant leak on a Dodge Journey is from the plastic water outlet housing (thermostat housing) located on the engine block, typically due to a failed O-ring or warping of the plastic itself. Other frequent sources include the radiator hoses, the heater hose assembly at the firewall, and a cracked overflow tank.
If you’re finding puddles of coolant under your Dodge Journey or constantly adding fluid, you’re dealing with a well-known weakness in these vehicles.
I’ve diagnosed countless Journeys with the same leaks, and dealerships often quote outrageously for what can be a straightforward fix. This guide cuts through the noise, showing you exactly where to look and how to fix it.
What Causes Coolant Leaks in a Dodge Journey?
Coolant leaks in Dodge Journeys are primarily caused by the failure of plastic components in the cooling system under constant heat and pressure cycling.
The most frequent failure points are the water outlet housing, the radiator hoses (especially the quick-connect fittings), and the plastic heater hose assembly. These parts degrade, warp, crack, or their sealing O-rings flatten over time.
1. The Plastic Water Outlet Housing (Thermostat Housing) Failure
This is the number one suspect on 2.4L and 3.6L engines. The housing is made of plastic and bolted to the engine.
Its sealing O-ring or the housing face itself warps, causing a leak that drips down the back of the engine, often misdiagnosed as a rear main seal or engine oil cooler leak.
- Symptoms: Visible coolant trail on the engine block below the housing. Sweet smell from the engine bay. Low coolant warnings.
- Common Misdiagnosis: Shops often recommend replacing the entire thermostat assembly (housing, thermostat, sensor) as a unit, which is expensive. Many times, a new O-ring or a simple housing replacement is all that’s needed.
- DIY Fix: Drain coolant, remove the two or three bolts, swap the housing and O-ring. Use OEM or high-quality aftermarket parts—cheap plastic housings fail quickly. Apply a thin film of dielectric grease on the O-ring.
2. Leaking Radiator Hoses and Quick-Connect Fittings
The Journeys use a mix of traditional clamp-style hoses and a “quick-connect” system that relies on a plastic clip and O-ring inside the fitting.
This clip becomes brittle and breaks, or the internal O-ring fails, causing a leak at the radiator or engine connection.
- Symptoms: Coolant weeping from the hose connection point. A noticeable “click” or “pop” sound when disconnecting a failed fitting.
- DIY Fix: For the quick-connect style, you can buy just the replacement clip and O-ring kit for a few dollars. Aftermarket hoses with integrated fittings are also available. Always lubricate the new O-ring with fresh coolant before installing.
3. Cracked Coolant Overflow (Degasser) Tank
Located in the passenger-side front of the engine bay, this plastic tank is prone to cracking, especially along the seams and at the lower hose nipple.
- Symptoms: Coolant pool on the ground near the right front tire. Cracks are often visible with a flashlight inspection. The tank may feel spongy or soft when pressed.
- DIY Fix: This is a straightforward replacement. Remove the hoses, unclip the mounting tabs, and swap the tank. It’s one of the easier fixes.
Where is the Dodge Journey Coolant Leak Coming From?
Pinpointing the exact source requires a systematic visual inspection with the engine cool and a pressure test if possible. Coolant leaks often run along hoses or drip from the lowest point, so you must trace the leak upward to its origin.
How to Perform a Visual Inspection
- Safety First: Ensure the engine is completely cool before opening the hood or removing the radiator cap.
- Check the Water Outlet: Look at the rear of the engine (passenger side for 2.4L, front for 3.6L) for white, crusty residue (coolant dye) or wetness around the thermostat housing.
- Inspect All Hoses: Squeeze the upper and lower radiator hoses. Look for cracks, swelling, or dampness at the clamp ends. Pay close attention to the plastic quick-connect fittings at the radiator and firewall.
- Examine the Heater Hose Assembly: This plastic manifold on the firewall (passenger side) connects multiple hoses and can crack internally or at the outlets.
- Look Down Low: Use a mirror and flashlight to inspect the water pump (front of engine), the radiator seams, and the bottom of the overflow tank.
Using a Coolant Pressure Tester
For a definitive diagnosis, a cooling system pressure tester is invaluable. You can often rent one from an auto parts store.
- Attach the tester to the radiator cap neck or overflow tank opening.
- Pump the system to the pressure rating listed on your radiator cap (usually 13-16 psi).
- Watch the gauge. A pressure drop indicates a leak. With pressure held, visually inspect all the common leak points listed above. The leak will be much more obvious under pressure.
How Do You Fix a Dodge Journey Coolant Leak?
The fix depends entirely on the source. Most common repairs are DIY-friendly with basic tools. Always use the correct coolant type (Mopar recommends HOAT—Hybrid Organic Acid Technology coolant, typically orange or red).
Replacing the Water Outlet Housing (Thermostat Housing)
For 2.4L Engine: The housing is at the back of the engine, under the intake manifold. You’ll need extensions and universal joints for the bolts.
- Drain coolant to below the housing level.
- Disconnect the upper radiator hose and any attached sensors.
- Remove the mounting bolts and carefully pry the housing loose.
- Clean the engine block surface thoroughly, removing all old O-ring material.
- Install the new housing with a new O-ring, tightening bolts evenly in a cross pattern to the specified torque (around 10-12 ft-lbs).
- Refill with coolant and bleed the system of air (a bleeder valve is often located near the housing).
Fixing a Leaking Radiator Quick-Connect Hose
- Have a drain pan ready. Press the release tab on the fitting and pull the hose straight off.
- Use a small pick to remove the old O-ring and broken clip from inside the radiator nipple.
- Install the new clip and O-ring from the repair kit, lubricating the O-ring.
- Push the hose onto the nipple until you hear a solid “click.”
Dodge Journey Coolant Leak Repair Cost
Cost varies dramatically based on the leak source and whether you go to a dealership or independent shop.
Note: Prices can vary by region and model year. Always get a specific quote before authorizing work.
Frequently Asked Questions (FAQ)
Is it safe to drive my Dodge Journey with a small coolant leak?
It is not recommended. A small leak can become a large one without warning, leading to rapid overheating, which can warp your cylinder head or cause catastrophic engine damage.
Monitor your temperature gauge closely and top off the coolant as a temporary measure only while you arrange a repair.
Can I use a coolant leak sealer like “Bar’s Leaks” or “K-Seal”?
I advise against it as a permanent fix. While these sealants can temporarily slow or stop a small leak, they work by circulating particles that clog the leak point.
The risk is that they can also clog your heater core (very common and expensive to replace) or thermostat. Use them only as an absolute last resort to get to a repair shop.
Why does my Dodge Journey smell like coolant inside the car?
This is a serious sign. The most likely cause is a failed heater core. The heater core is a small radiator inside your dashboard that uses hot coolant to heat the cabin.
A leak here will drip coolant onto the floorboard and send sweet-smelling fumes through the vents. This repair is labor-intensive, as the entire dashboard often needs to be removed.
How often should I replace the coolant in my Dodge Journey?
Follow the owner’s manual, but as a general rule for HOAT coolant: first service at 5 years or 100,000 miles, then every 3 years or 50,000 miles thereafter.
Old coolant becomes acidic and can accelerate the corrosion of the very plastic and aluminum parts it’s designed to protect, leading to more leaks.
Stop the Drip: Your Path to a Leak-Free Dodge Journey
Dodge Journey coolant leaks are almost always a case of failing plastic parts, not a design flaw in the engine itself. By knowing the top three failure points—the water outlet housing, the radiator hoses, and the overflow tank—you can diagnose the issue accurately.
Armed with this knowledge, you can either tackle the repair yourself for a fraction of the cost or have an intelligent conversation with your mechanic, ensuring you get a fair quote for the right fix. Don’t let a small puddle turn into a big engine problem.
Leave a Reply